
Free Installation & 50% Off Vinyl
Get Today’s Best Pricing & Financing Now!
Timeless Hardwood Flooring
Timeless Hardwood Flooring
Beautiful Floors Engineered for Life
Luxury hardwood offers the perfect balance of natural beauty and lasting performance. It creates a warm, durable foundation designed to elevate everyday living for years to come.
Get New Timeless Hardwood in Three Easy Steps

1
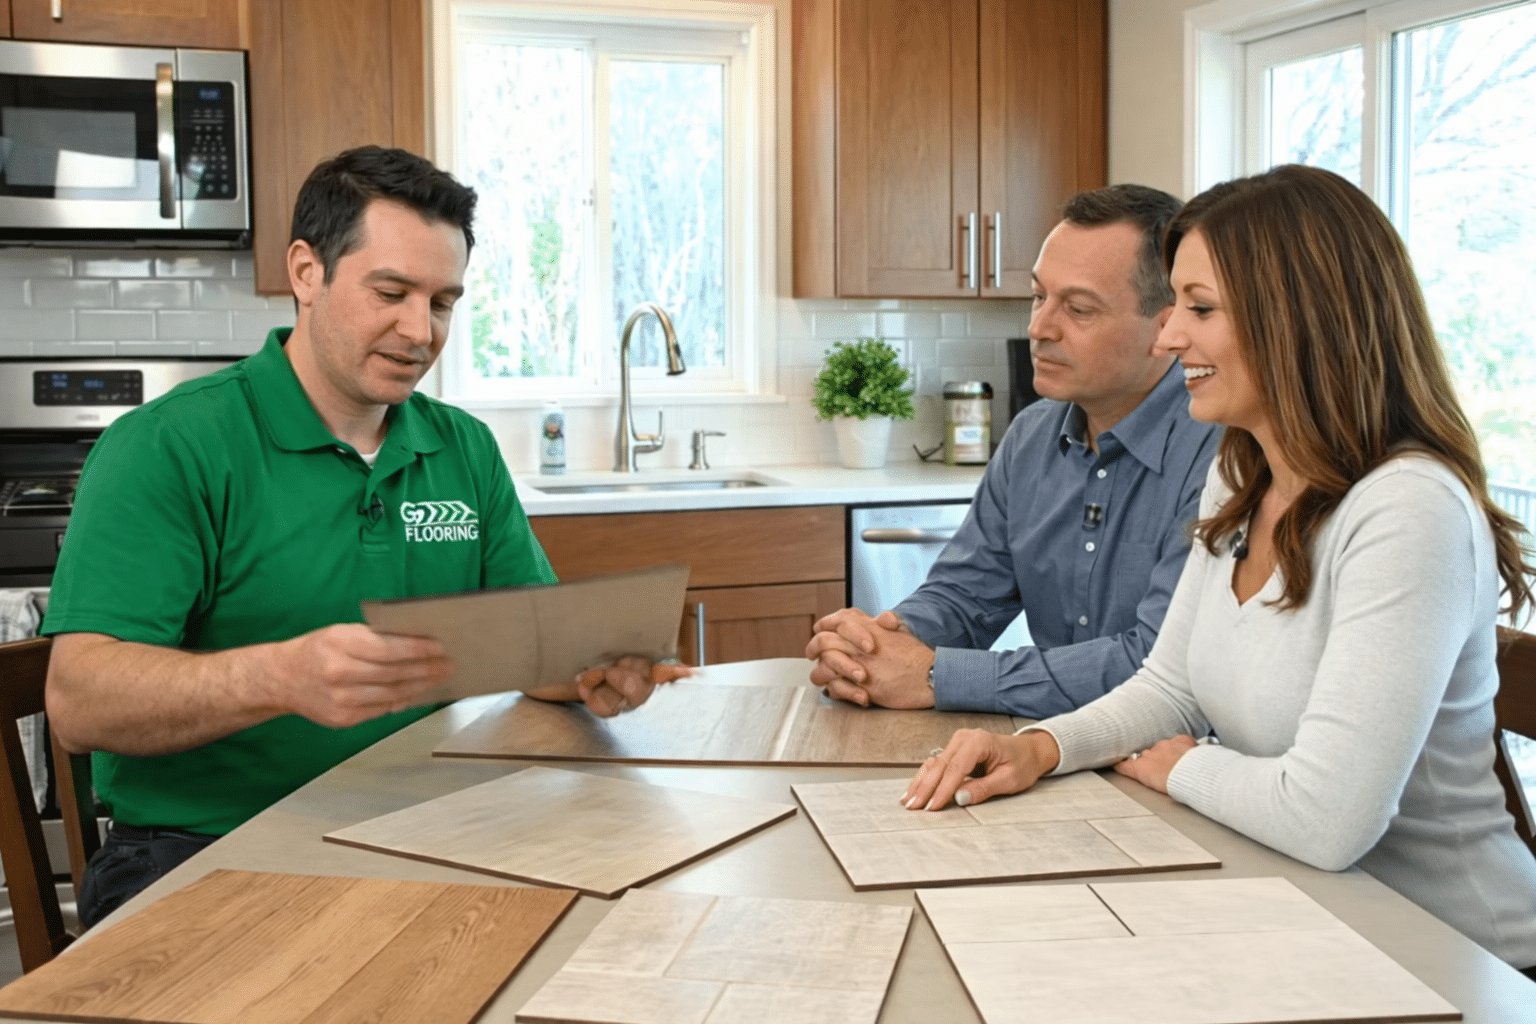
Book a Free In-Home Flooring Consultation with the #1 Flooring Company
2
Transparent Pricing, No Unexpected Costs
A flooring specialist will bring samples, guide you to the best option, measure your space, and provide a complete all-inclusive estimate.

3
Easy Installation on Your Timeline
Once approved, you can finance your purchase and set up your professional installation.
Timeless Beauty Enduring Strength
Experience the rich character and natural elegance of authentic hardwood, crafted to bring warmth, depth, and lasting value to every room in your home.
These premium hardwood floors are built to deliver refined style, dependable durability, and a timeless foundation that elevates both everyday living and special spaces.


Real Answers About Real Hardwood
Hardwood is a lifetime investment in your home, and buyers rightly ask how it holds up and what it costs. Here's the honest rundown on real wood floors.
