
Free Installation & 50% Off Vinyl
Get Today’s Best Pricing & Financing Now!
Premium Tile Flooring
Premium Tile Flooring
Beautiful Floors Built to Last
Luxury tile offers the perfect balance of timeless style and dependable performance. It provides a durable, low maintenance foundation designed to handle everyday life with lasting beauty.
Get New Beautiful Tile in Three Easy Steps

1
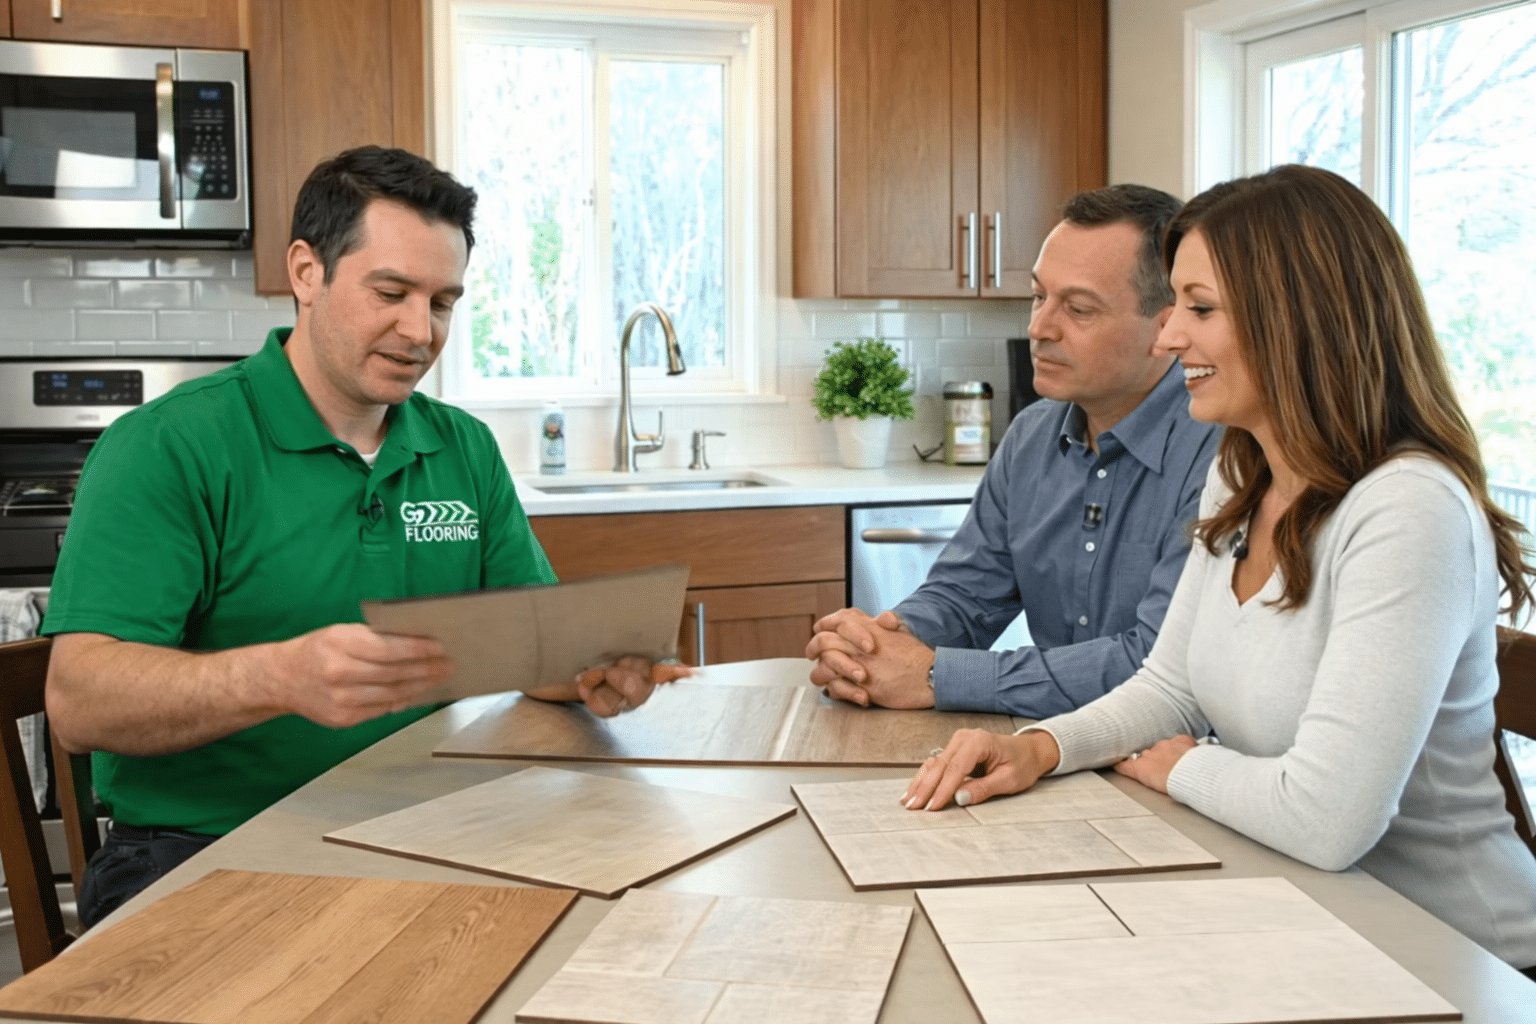
Book a Free In-Home Flooring Consultation with the #1 Flooring Company
2
Transparent Pricing, No Unexpected Costs
A flooring specialist will bring samples, guide you to the best option, measure your space, and provide a complete all-inclusive estimate.

3
Easy Installation on Your Timeline
Once approved, you can finance your purchase and set up your professional installation.
Timeless Style Durable Performance
Enjoy the refined look of premium tile flooring, crafted to bring lasting beauty, practical durability, and low maintenance convenience to every room in your home.
These high quality tile floors are designed to handle moisture, foot traffic, and daily life while offering dependable performance and versatile style throughout the home.


Real Answers About Timeless Tile
Tile is the go-to for kitchens and baths, and it lasts for decades when it's installed right. Here's what homeowners ask before choosing tile, answered straight.
